
Last updated September 20, 2026
Full 25-point door and opener safety check with every visit - springs, cables, rollers, tracks, and your LiftMaster or Chamberlain opener included
You get a price before we start. It does not change when the truck arrives.
 Before
 After
After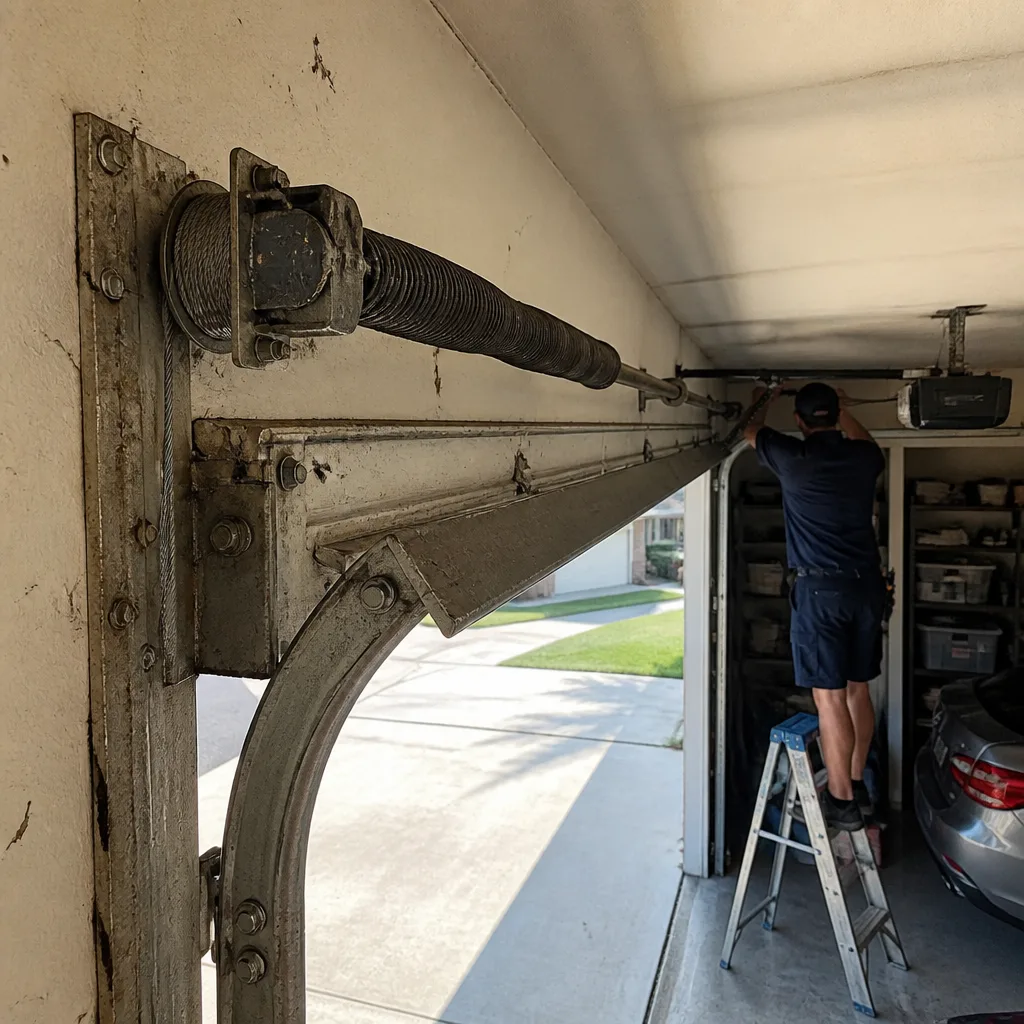 Before
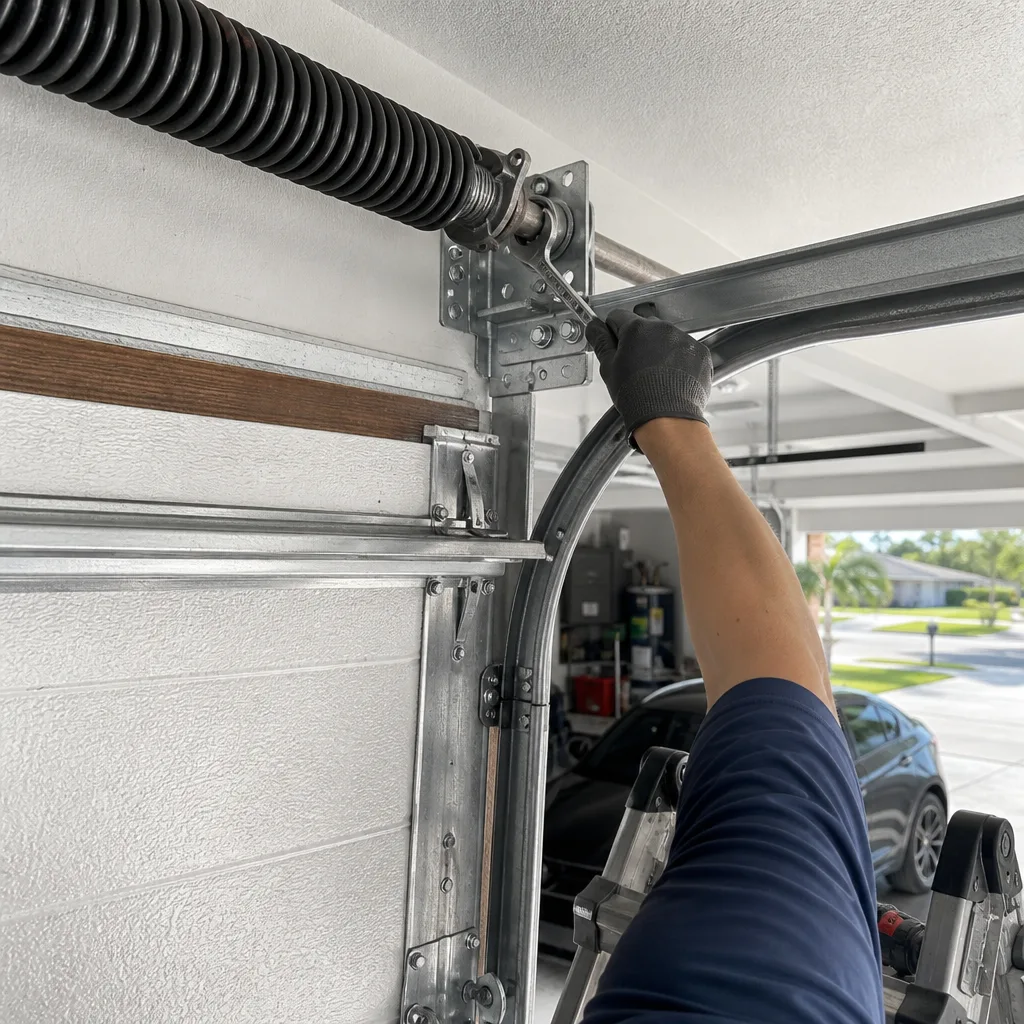 After
After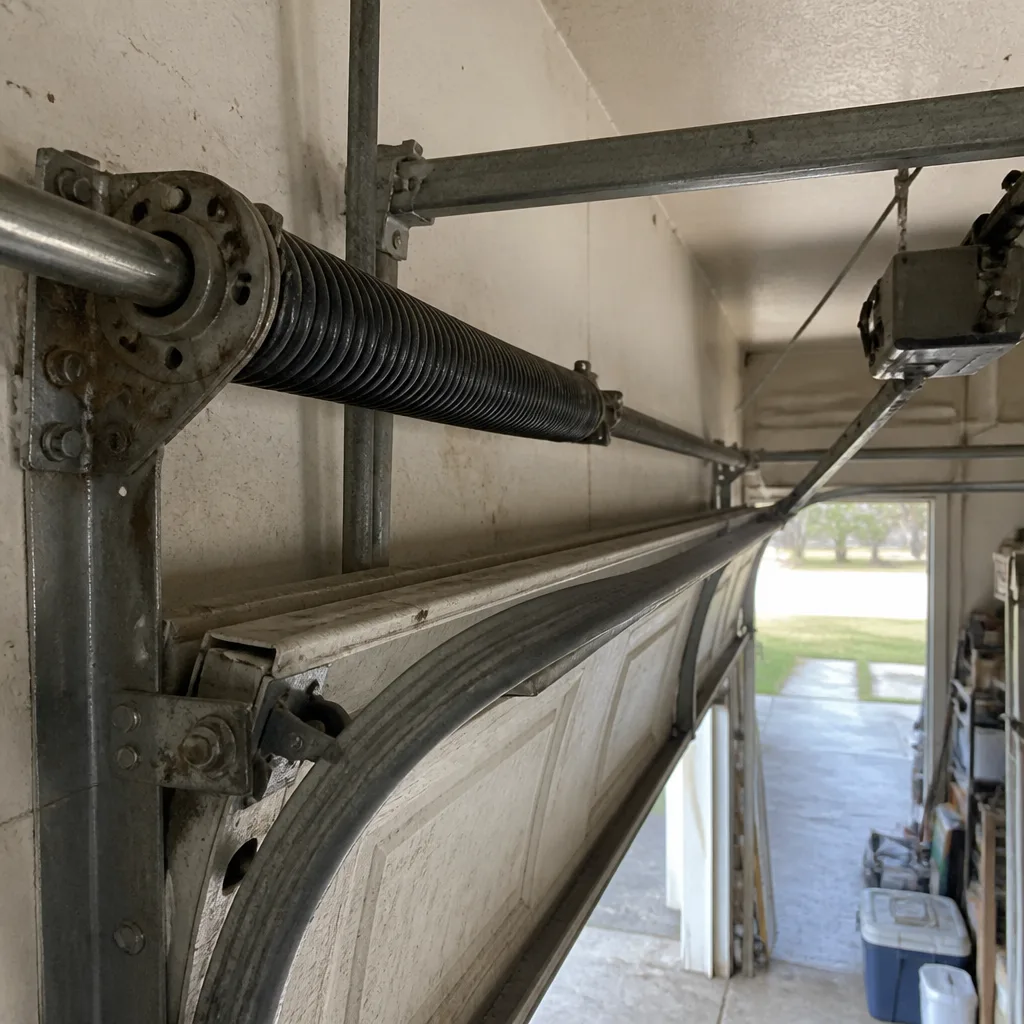 Before
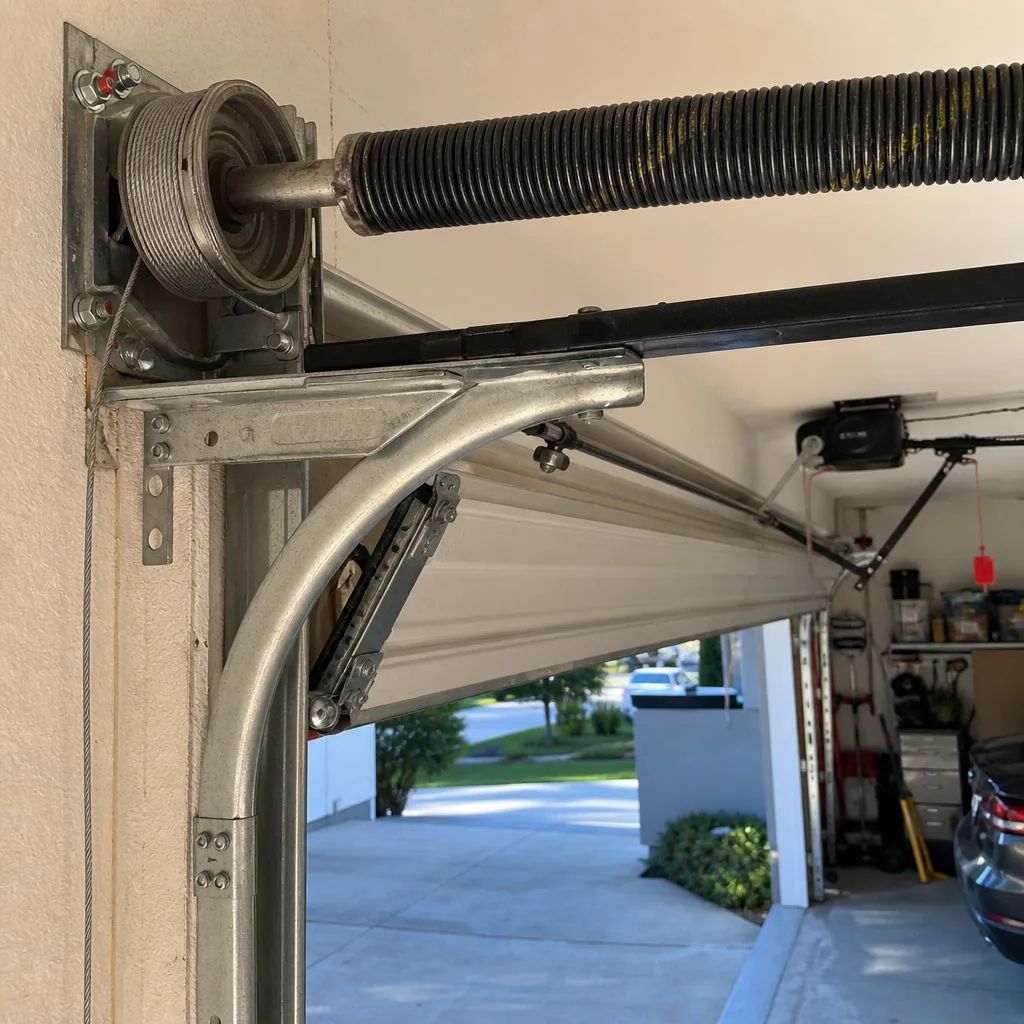 After
AfterGarage Door Repair Maintenance Checklist for Bradenton Homeowners
Most garage door maintenance guides are written as if every homeowner lives in Ohio. They tell you to lubricate the rollers, tighten the bolts, and call it a season. But a garage door in Bradenton lives in salt air, 80 percent humidity, and UV that turns rubber into brittle plastic. The failure you should be worried about isn’t the worn roller. It’s the cable drum anchor plate corroding six inches from the spring, invisible until the cable snaps and the door drops at 2 a.m. Lubricating the torsion spring first is the most common mistake we see in Bradenton: it feels productive, but it does nothing for the part that’s about to fail. This checklist is sequenced by what actually fails in coastal Florida, not by what’s easy to explain. We’ll walk you through the five inspections that matter most, what to photograph, what to spray, and the three conditions where you stop and call a professional before touching anything else.
Quick Answer
A Bradenton garage door maintenance checklist prioritizes the cable drum and bottom bracket first, the torsion spring winding cone second, roller stems third, and weatherseal last. Due to coastal humidity and salt air, inspections should run twice a year: once in May before storm season and once in October after summer humidity peaks. If the cable drum shows white oxidation, the bottom bracket bolts are corroded, or the torsion spring has a visible gap or separation, stop the inspection and call a Garage Door Repair professional before attempting any repair.
Table of Contents
- 1. Inspect the Cable Drum and Anchor Plate First
- 2. Check the Bottom Bracket and Cable Attachments
- 3. Examine the Torsion Spring Winding Cone
- 4. Clean and Inspect Roller Stems and Hinges
- 5. Check the Bottom Weatherseal for UV Damage
- 6. Seasonal Timing: Build a Bradenton Maintenance Calendar
- 7. Document Everything With Dated Photographs
- 8. The Three Stop Points: When to Put the Wrench Down
BeforeAfter1. Inspect the Cable Drum and Anchor Plate First
In Bradenton, the cable drum is not the first thing to show damage. The anchor plate that holds it to the wall is. Salt air works into the powder coat and starts corrosion at the bolt holes, where the coating is thinnest. You’ll see white, chalky oxidation around the bolts first, then rust streaking down the plate. The drum itself can look fine while the plate behind it is losing structural integrity.
Here’s the sequence we follow on every Bradenton inspection, and you can do the same from a stepladder:
- Close the garage door completely. Disengage the opener using the red emergency release handle and pull the door down by hand if needed.
- Stand on a stepladder beside the cable drum, which sits at the top of the door track on either side.
- Look at the bolts that secure the anchor plate to the wall. White powder, flaking metal, or rust at the threads means the plate is corroding.
- Look at the cable as it wraps onto the drum. The cable should spool evenly in a single layer. If it’s overlapping or fraying, that’s a wear point.
- Photograph what you see with your phone. Hold a coin or a ruler in the frame for scale if anything looks questionable.
Why does this matter more in Bradenton than in, say, Denver? A dry climate slows corrosion dramatically. Bradenton’s humidity, combined with salt from the Gulf, accelerates it. We’ve replaced anchor plates on doors installed just five years earlier in neighborhoods like West Bradenton, Palma Sola, and along the Manatee River where the salt air is constant. The cable drum itself rarely fails. The plate behind it does, and when it goes, the cable goes with it. If you catch the corrosion early, it’s a simple plate replacement. If you miss it, you’re looking at a dropped door, a snapped cable, and often a bent track.
For a deeper look at how we handle cable and drum work, see our Garage Door Repair in Bradenton page, where we walk through what a full inspection covers.
2. Check the Bottom Bracket and Cable Attachments
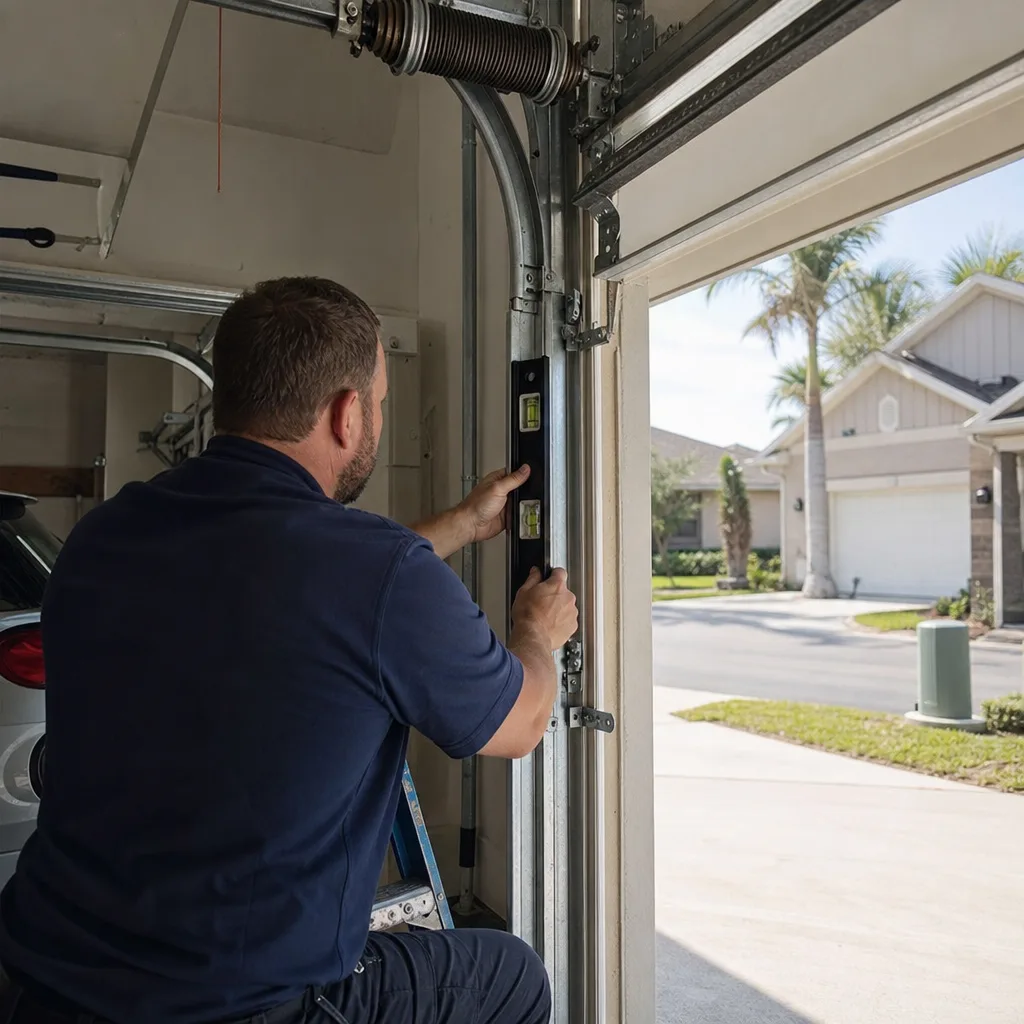
The bottom bracket is the steel fitting at the lower corner of the door where the lift cable attaches. In Bradenton, this bracket collects standing water after every rain. Water runs down the track, pools at the bracket, and sits there. The result is a specific pattern: the bracket rusts from the inside out, and the cable attachment point weakens.
To inspect it safely:
- Close the door. You’ll be working at knee height, not overhead.
- Look at the bracket on both sides of the door. Check for orange rust, flaking metal, and any visible crack along the bolt line.
- Check the cable attachment: the cable should run straight into the bracket without kinks or frayed strands. In Bradenton, we see galvanic corrosion where the steel cable touches the aluminum bracket, a problem that’s worse in coastal air than inland.
- Put a gloved hand on the bracket and try to move it. Rusted-through brackets will flex slightly at the bottom, which means the structural connection is compromised.
This is the second item in our sequence because it fails almost as often as the cable drum plate in Bradenton. The bottom bracket holds the full tension of the lift cable. When it breaks, the cable snaps back, the door becomes unbalanced, and the remaining cable takes the entire load. That moment is dangerous. If you see any rust-through on a bottom bracket, stop and leave the door closed. A qualified technician can replace the bracket under tension using winding bars and the correct procedure. Untrained hands on a tensioned bracket cause the injuries you read about in the news. This is one of the three stop points we’ll detail later.
Several major brands, including Wayne Dalton and Amarr, use slightly different bottom bracket designs depending on the door model. The failure mode in Bradenton is consistent regardless: water accelerates rust at the cable attachment and the bracket bends or breaks. A visual check twice a year catches it long before the part gives up.
3. Examine the Torsion Spring Winding Cone
Now we get to the spring. Most maintenance checklists start here. We put it third for a reason: by the time a torsion spring fails in Bradenton, you’ll usually have warning signs at the cable drum or bottom bracket first. But the spring itself needs a look, and it specifically needs a look at the winding cone, not just the coil.
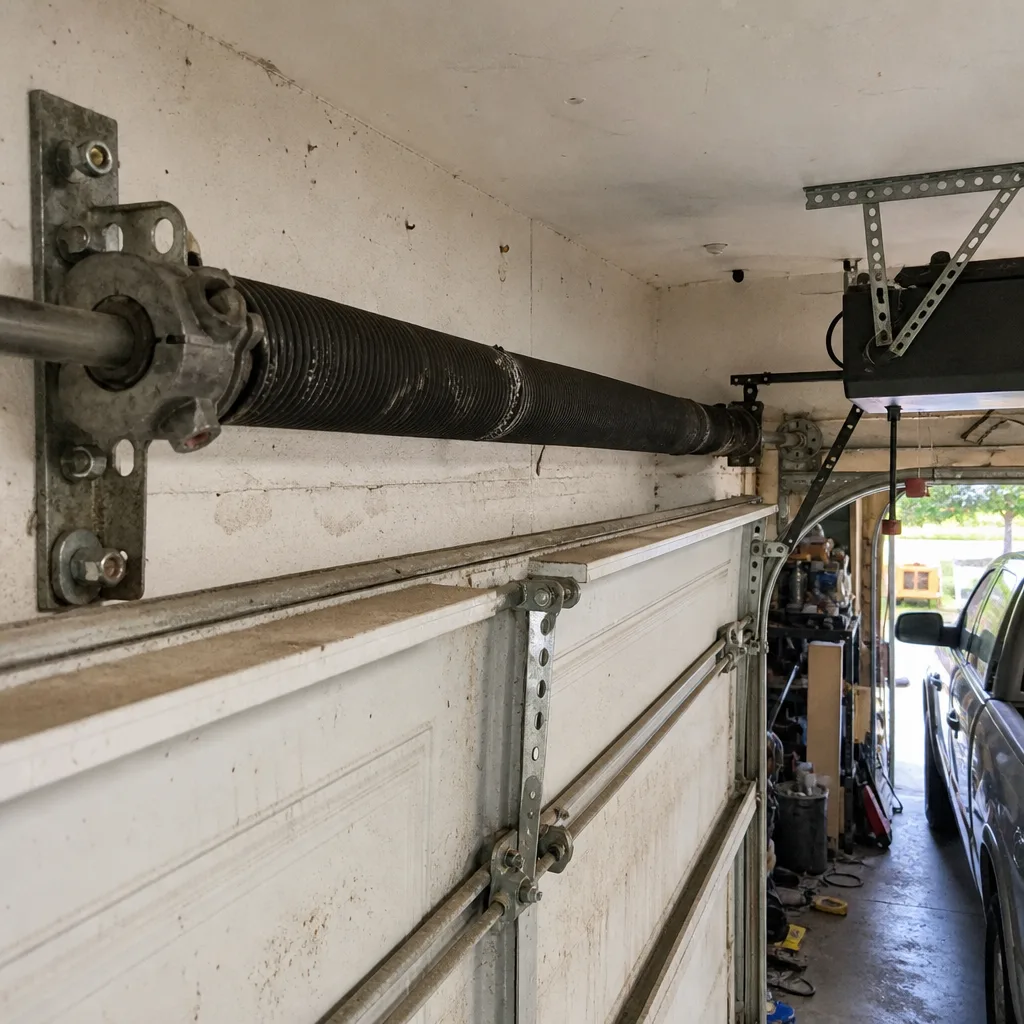
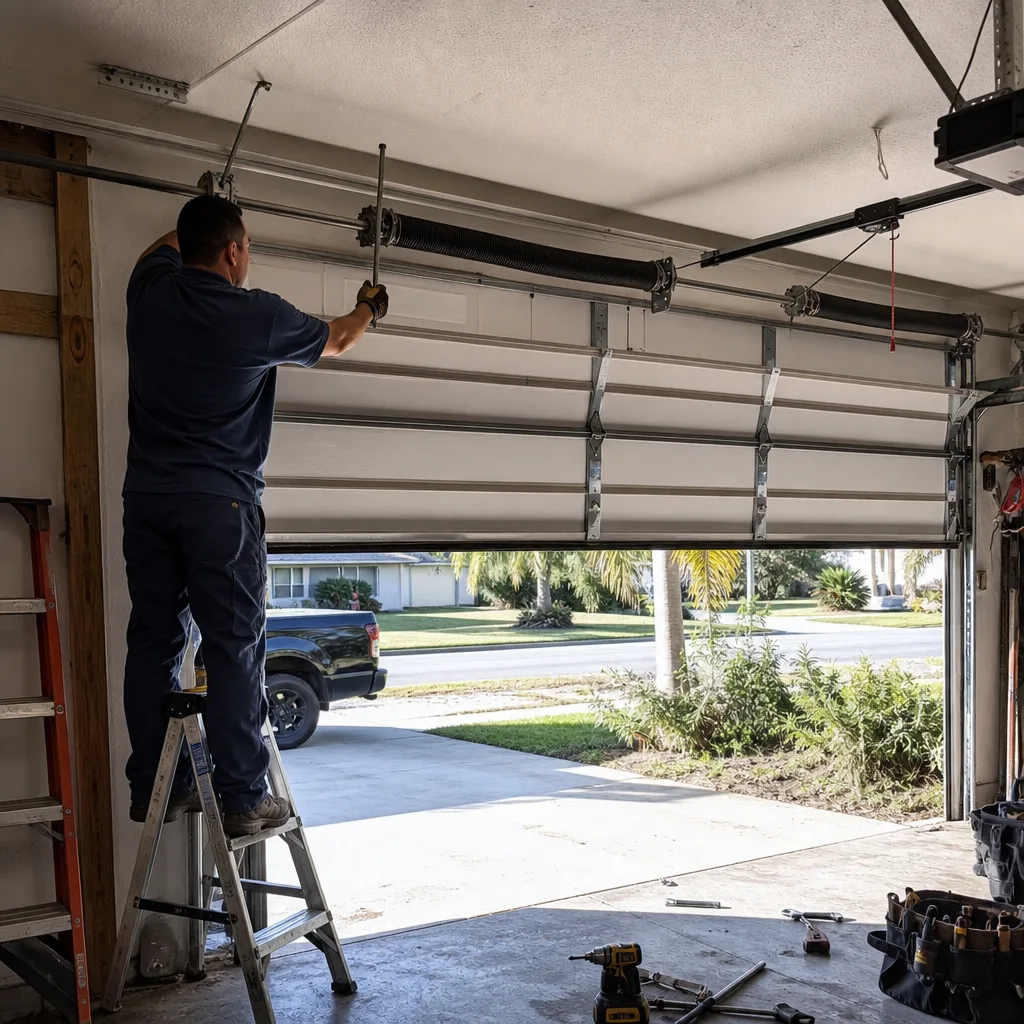
The winding cone is the cast aluminum fitting at the end of the torsion spring that locks into the spring’s coil and allows the spring to be wound. In high-humidity environments, aluminum corrodes differently than steel. You’ll see pitting, not rust. The cone can crack at the set screw holes. A cracked winding cone is a loaded part under tension, and it can shatter when the spring unwinds.
Here’s what to check:
Coil gap or separation: The torsion spring should be one continuous piece. If you see a gap in the coil, the spring has snapped. You may have already noticed the opener struggling or the door losing balance. A broken spring means the door won’t open, or if it does, it does so dangerously. Do not operate the door. Do not try to open it manually with the emergency release if the spring looks broken.
Winding cone condition: Look for pitting, small cracks, or white aluminum oxide around the set screws. If the cone has moved from its original position, even slightly, the spring has lost tension.
Rust on the coil itself: Light surface rust is cosmetic. Deep rust that flakes off in chunks is structural. A deeply rusted spring will eventually snap, usually under load, usually when the door is open or closing.
One more note for Bradenton homeowners: spraying lubricant on the torsion spring is one of the most common maintenance mistakes we see, and we cover it in more detail in our Garage Door Warning Signs: A Bradenton Homeowner’s Reference Guide. The spring does not need lubrication. It coils and uncoils as the door operates, and lubricant actually attracts dust and salt particles in coastal air, accelerating corrosion inside the coil where it matters most. Leave the spring alone. If it looks questionable, call a professional.
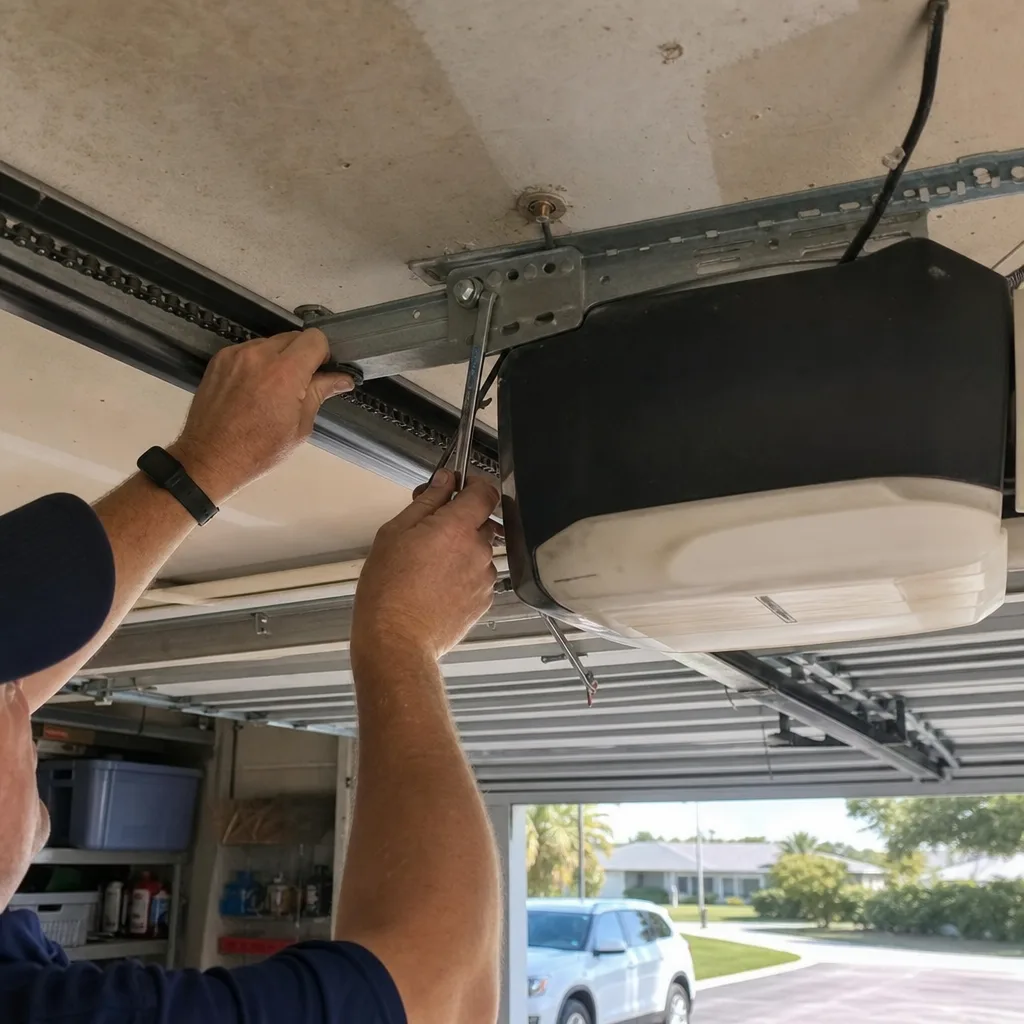
This is also where Garage Door Opener Repair & Installation in Bradenton ties in: a failing opener often masks itself by grinding against a door that’s out of balance from a weakened spring. We look at both at the same time.
4. Clean and Inspect Roller Stems and Hinges
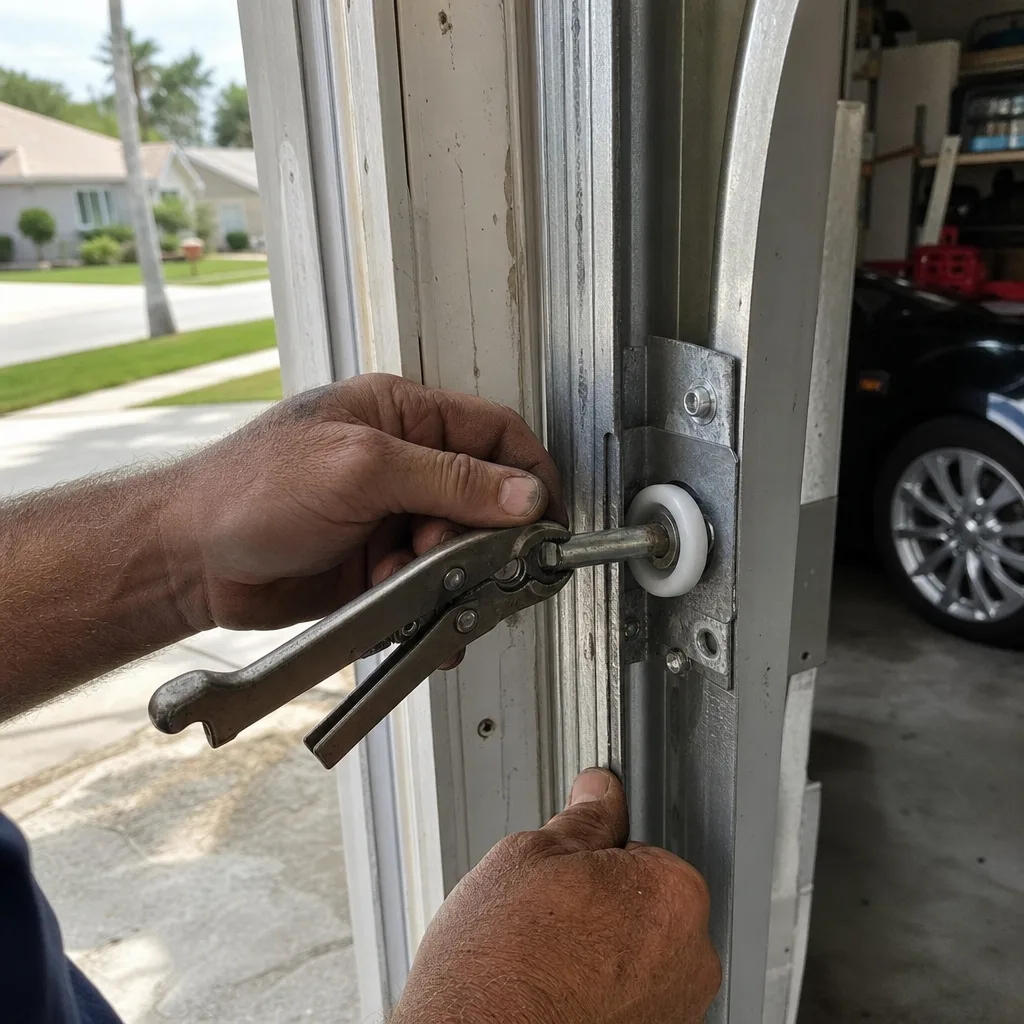
Roller stems are the steel shafts that hold the rollers in place. In a dry climate, rollers wear on the wheel. In Bradenton, the stems rust and bind, which transfers the friction to the hinges and tracks. You’ll hear a grinding noise that sounds expensive but often traces back to a $4 stem.
Inspect the rollers in this order:
- With the door closed, run your eyes along the track from top to bottom. Look for rust streaks on the inside of the track, which indicate the stems are oxidizing.
- Open the door halfway using the opener, then release the opener from the track using the emergency cord. If the door doesn’t roll smoothly by hand, you have a resistance point.
- Check each roller stem for rust where it enters the hinge. Wiggle the roller. If it moves more than a few millimeters side to side, the bearing is wearing.
- Look at the hinge plates themselves: steel hinges in Bradenton commonly rust at the bolt holes. A rusted hinge pin means the hinge will eventually seize.
When lubricating, remember this rule for Bradenton’s climate: use a silicone-based or lithium-based spray on the roller bearings and hinge pins only. Never use petroleum-based sprays like WD-40 on these parts. Petroleum-based lubricants break down the nylon in roller wheels and accelerate rubber seal degradation in high-UV environments. For nylon rollers, a light spray on the bearing area is enough. For steel rollers, use a white lithium grease on the stem and bearing.
One specific Bradenton note: if your garage faces south or west, the afternoon sun hits the lower door panels and heats the track and rollers. This thermal cycling, combined with humidity, means parts expand and contract constantly. The result is faster wear on bottom roller stems than upper stems. Pay extra attention to the bottom two rollers on sun-exposed doors.
5. Check the Bottom Weatherseal for UV Damage
The weatherseal is the rubber strip along the bottom of the door that keeps water, debris, and pests out. In Bradenton, this piece sees two destructive forces at once: standing water from afternoon thunderstorms and UV from direct sun. The result is predictable. The rubber stiffens, cracks, and pulls away from the door’s bottom rail. Once the seal breaches, every rainstorm sends water under the door, and that water soaks the bottom panel and the interior floor.
Check the weatherseal every four to six months:
- Close the door and stand back. You should see no daylight between the seal and the ground along the full width.
- Run a gloved hand along the seal from end to end. It should be pliable. If it feels stiff, brittle, or cracked, it’s reached the end of its working life.
- Look for gaps at the corners, where the seal most commonly pulls away from the aluminum retainer.
- Check the retainer itself for rust. The retainer is the aluminum channel that holds the seal. In Bradenton, salt air pits the retainer and rusts the fasteners.
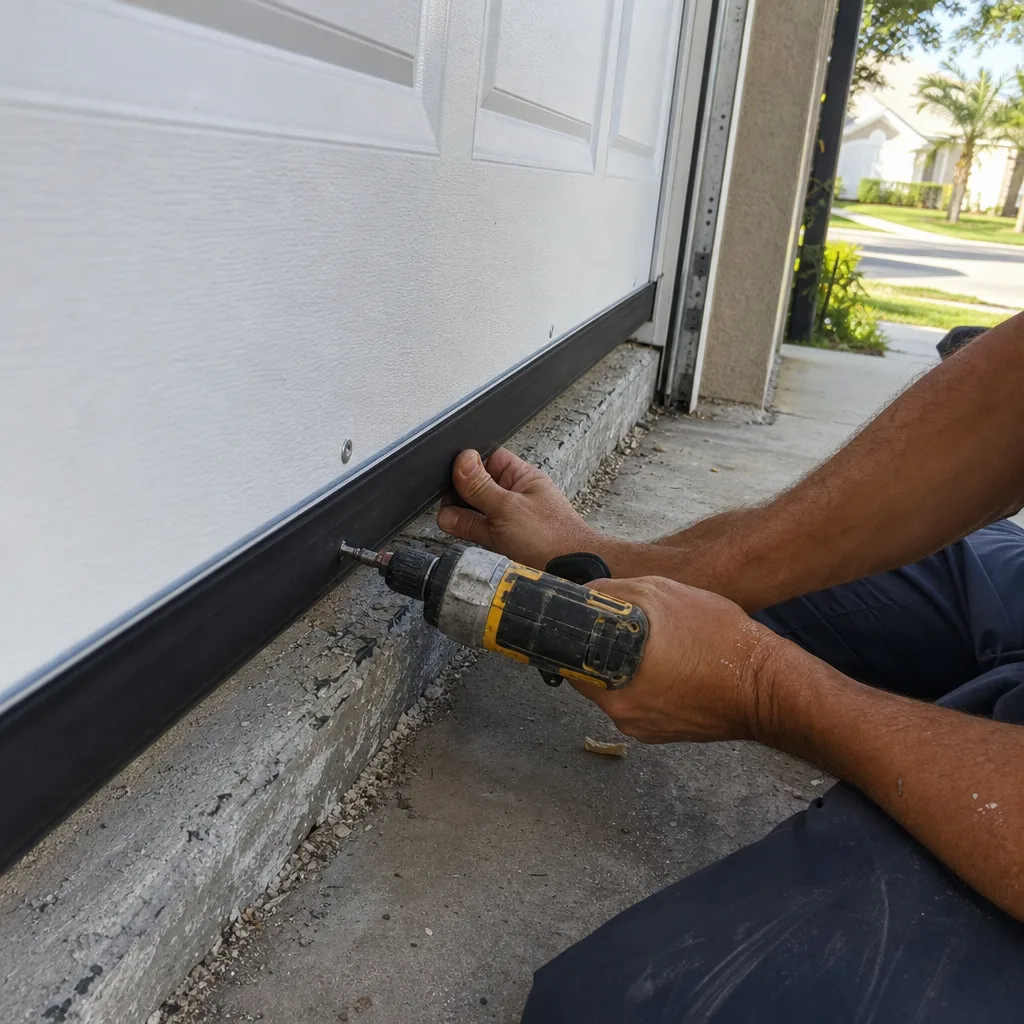
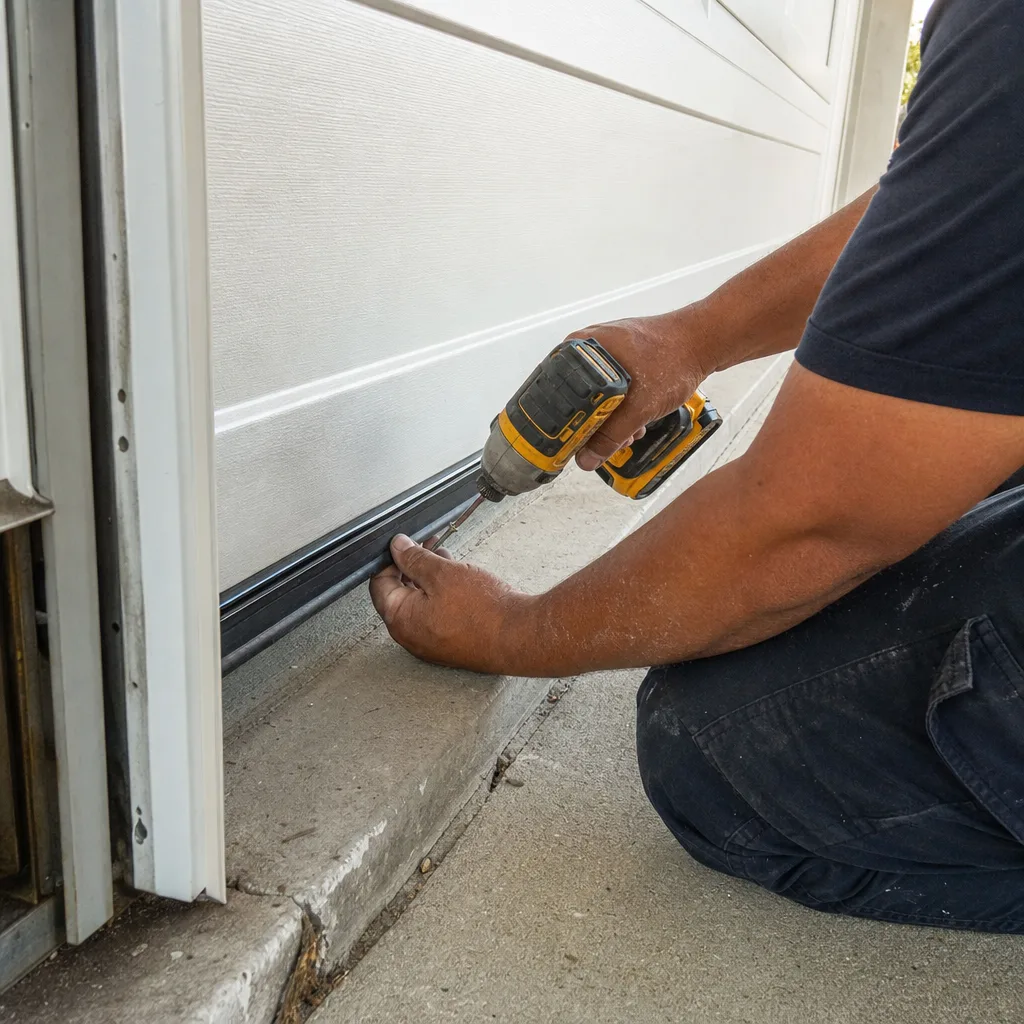
Replacing a weatherseal is a straightforward job for a homeowner with basic tools and patience: pull the old seal, slide the new one through the retainer, and cut to length. Match the seal type to your door: a residential Bradenton garage door typically uses T-style, bulb-style, or bottom-astragal profile. If the retainer is rusted through, however, the whole assembly needs to be replaced, and that’s a professional call. A rusted retainer means the seal will fail again in weeks, not years.
Brands like Craftsman and Raynor install weatherseals to slightly different dimensions, so if you’re replacing yours, take the old piece to a supplier or buy through a dealer who can match by door model. The savings from a generic seal that doesn’t fit is an opening for water and everything that comes with a Florida wet season.
6. Seasonal Timing: Build a Bradenton Maintenance Calendar
Your maintenance visits should follow the weather, not the calendar. Bradenton has two maintenance seasons, and they match two distinct threats:
May: Pre-storm-season check. Florida’s hurricane season runs from June 1 through November 30, with the most active months from August to October. Before the season starts, you want your door operating perfectly because if a storm is approaching, you need the door closed and locked. A broken spring in May is an inconvenience. A broken spring when a tropical storm is two days out becomes an emergency. This May check includes everything in this guide, plus one extra step: verify that the door balances properly, meaning it holds its position when opened halfway by hand. If it drops or rises, the spring tension is off.
October: Post-summer humidity peak check. Summer in Bradenton means daily thunderstorms, humidity that hovers above 70 percent, and salt air moving in from the Gulf. By October, corrosion has had five or six months to work. You’ll inspect for new oxidation at the cable drum anchor plate, new pitting on the winding cone, new rust on the bottom brackets. If you find nothing in May but something in October, you’ve caught the problem before it catches you.
The practical effect of this timing is simple: you run four hours of maintenance per year, split into two two-hour sessions. If you skip the May check, you’re testing your luck during hurricane season. If you skip the October check, you’re asking the next year’s May check to deal with double the corrosion. Bradenton’s weather is too consistent to let maintenance slide; the salt air is always working, and the calendar is the only thing you control.
7. Document Everything With Dated Photographs
This is the part most maintenance guides skip, and it’s the difference between a checklist you do once and a system that prevents expensive failures. Photographs do two things: they give you a baseline, and they let a technician see corrosion progression over time rather than starting from zero.
Here’s the simple system we recommend for Bradenton homeowners:
- During each May and October inspection, take six photographs: cable drum and anchor plate on each side, bottom bracket on each side, torsion spring and winding cones, and the bottom weatherseal.
- Name each photo file with the date and the part: “2026-05-cable-drum-right.jpg,” “2026-05-bottom-bracket-left.jpg,” and so on.
- Store them in a folder on your phone or in cloud storage. You now have a maintenance record for your door.
- When a technician visits, show the folder. A technician who can see what the bracket looked like in October versus May can tell you whether the corrosion is active or stable. That’s information no verbal description can convey.
This matters because corrosion is a process, not an event. A bracket that looks fine today may have been rapidly worsening for six months, and only a dated photograph reveals that. Without a baseline, every inspection starts from zero and each visit is a guess. With a baseline, every inspection is a comparison.
This is also the same philosophy we work under at Servo Garage Doors Bradenton. Every visit ends with a documented photo record of what we found and what we did, not a verbal summary. You can read more about how we handle that on our Servo Garage Doors Bradenton home page. Clause 4 of The Haven Standard requires our technicians to photograph the failed component before quoting a replacement. It’s the same principle applied to your own inspection routine.
8. The Three Stop Points: When to Put the Wrench Down
Most maintenance checklists imply that everything can be handled with a wrench and a can of lubricant. That’s not true, and in Bradenton, acting on that assumption is how injuries happen. Here are the three conditions where self-inspection ends and a professional call begins, with the safety reason stated plainly for each:
Stop point one: any rust-through or structural crack on the bottom bracket or cable drum anchor plate. These parts hold the tension of the lift cables. A rusted-through bracket or plate is one load cycle away from catastrophic failure. The door’s entire weight is suspended on these connection points. A broken cable under tension moves fast and the door follows. This is not a job for a homeowner with a socket set. A trained technician uses winding bars, knows the tension on the specific spring, and replaces the bracket under controlled conditions.
Stop point two: any visible gap or separation in the torsion spring, or any crack in the winding cone. The torsion spring stores enough energy to lift a 150 to 200 pound door. A spring that has snapped or a winding cone that has cracked is holding that energy in a compromised state. One wrong move and the spring unwinds with enough force to break bones. Do not touch the spring. Do not attempt to disassemble anything near the spring. Close the door if it’s open, leave it closed, and call a professional.
Stop point three: the door does not balance, drift, or hold position when tested. Open the door halfway by hand and it drops, or it creeps upward, or it slams. Any of these means the spring tension is no longer matched to the door’s weight. The opener is now overworking, and the door is unsafe to operate. Continuing to use the opener while the door is out of balance accelerates wear on the opener, the hinges, and the rollers, and it can lead to a sudden spring failure. A professional can re-tension or replace the spring safely, and in Bradenton’s climate, this is common enough that every independent garage door company keeps spring replacement parts on the truck. For help choosing the right company, see our How to Hire a Garage Door Contractor in Bradenton: A Step-by-Step Guide.
These three conditions cover the most common dangerous scenarios in Bradenton’s garage door market. If you see anything that falls into one of them, stop the inspection, mark the date and the condition in your photo log, and make the call.
Common Mistakes to Avoid
- Lubricating the torsion spring. The spring does not need lubrication. Spraying it attracts salt and dust from Bradenton’s coastal air, which accelerates corrosion inside the coil. Leave the spring alone and focus on the roller bearings and hinge pins.
- Using petroleum-based lubricants on rubber or nylon parts. WD-40 and similar sprays break down the rubber weatherseal and degrade nylon rollers. In high-UV environments like Bradenton, this damage happens faster than you’d expect.
- Ignoring the cable drum anchor plate while the drum looks fine. The plate behind the drum is what fails in coastal Florida. Most guides tell you to inspect the drum itself, which misses the actual failure point.
- Skipping the October post-summer check. Summer humidity does the most corrosive damage in Bradenton. If you only inspect in May, you’re giving corrosion a year to work instead of six months.
- Operating a door with a broken spring. A door with one broken spring can sometimes still open with enough effort from the opener. Every time it does, the remaining spring takes double the load, and the failure is more violent when it comes. If you see a gap in the spring coil, stop using the door.
- Replacing a weatherseal without checking the retainer. A rusted retainer means the new seal will fail in weeks. Match the seal to the retainer, and replace both if the retainer is rusted through.
- Failing to photograph what you find. Without a dated photo record, your next inspection starts from zero. Corrosion is a process, and only a photograph shows where in the process you are.
When to Call a Professional
If your inspection turns up any of the three stop points above, you’ve hit the point where professional care is the only safe option. You’re also at the point where a professional visit will pay for itself in information, because a trained technician can tell you whether the corrosion is active or stable, whether the repair is urgent or can wait, and what the next six months look like for that specific part. In Bradenton, the salt air and humidity make this an ongoing conversation, not a one-time fix. For more guides & resources on keeping your door safe year-round, visit our blog.
Servo Garage Doors Bradenton offers free estimates in Bradenton, and every job is quoted with a flat, written price and written scope before any work starts. No exceptions, no surprises. We also offer a free second opinion on any competing written estimate; bring the paperwork and we’ll take it from there. Call (941) 203-1829 to schedule an inspection.
Frequently Asked Questions
Twice a year: once in May before hurricane season and once in October after the summer humidity peak. Bradenton’s salt air works on metal and rubber year round, and the six-month interval catches corrosion before it becomes structural. If you skip the October check, you give summer corrosion a full year to work, and by the next May, the damage has had too much time.
The cable drum anchor plate failing from corrosion is the most common failure we see in Bradenton. Salt air from the Gulf corrodes the bolt holes where the plate mounts to the wall. The plate weakens, the cable snaps, and the door drops. It’s a specific failure mode for coastal Florida, and it’s why this checklist starts with the plate before anything else.
No. Petroleum-based sprays accelerate rubber seal degradation, break down nylon rollers, and attract salt and dust in Bradenton’s humid coastal air. Use a silicone-based or lithium-based spray on roller bearings and hinge pins only. Never lubricate the torsion spring; it doesn’t need it and the spray causes corrosion inside the coil where it matters most.
About two to three years, depending on sun exposure. A south-facing door in Bradenton eats through rubber faster due to direct afternoon sun and UV. You’ll see the seal stiffen, crack, and pull away from the retainer. If it feels brittle to the touch, it’s end of life. Check it every four to six months.
No. A torsion spring holds enough energy to lift 150 to 200 pounds, and the spring’s unwinding force can break bones. If you see a gap in the spring coil or a crack in the winding cone, close the door and leave it closed. A professional with winding bars and the correct training can replace the spring safely and verify the balance afterward.
Open the door halfway by hand and release it. If it drops, creeps upward, or won’t stay put, the spring tension is off. An out-of-balance door overworks the opener, accelerates wear on hinges and rollers, and can lead to a sudden spring failure. If the door won’t hold position in the middle of its travel, stop using it and call for service. Call (941) 203-1829 for a free estimate.
The Bottom Line
A Bradenton garage door needs a Bradenton maintenance sequence, not a generic one. Start with the cable drum anchor plate, then the bottom brackets, then the winding cone, then rollers and hinges, then the weatherseal. Run the inspections in May and October. Photograph everything with a date, keep the folder, and compare. Stop when you hit rust-through, spring separation, or door imbalance, and let a professional handle it from there. Spend four hours a year on this, and the door will tell you when it needs attention, months before it fails. Skip it, and Bradenton’s salt air will catch up, usually at the worst possible time.
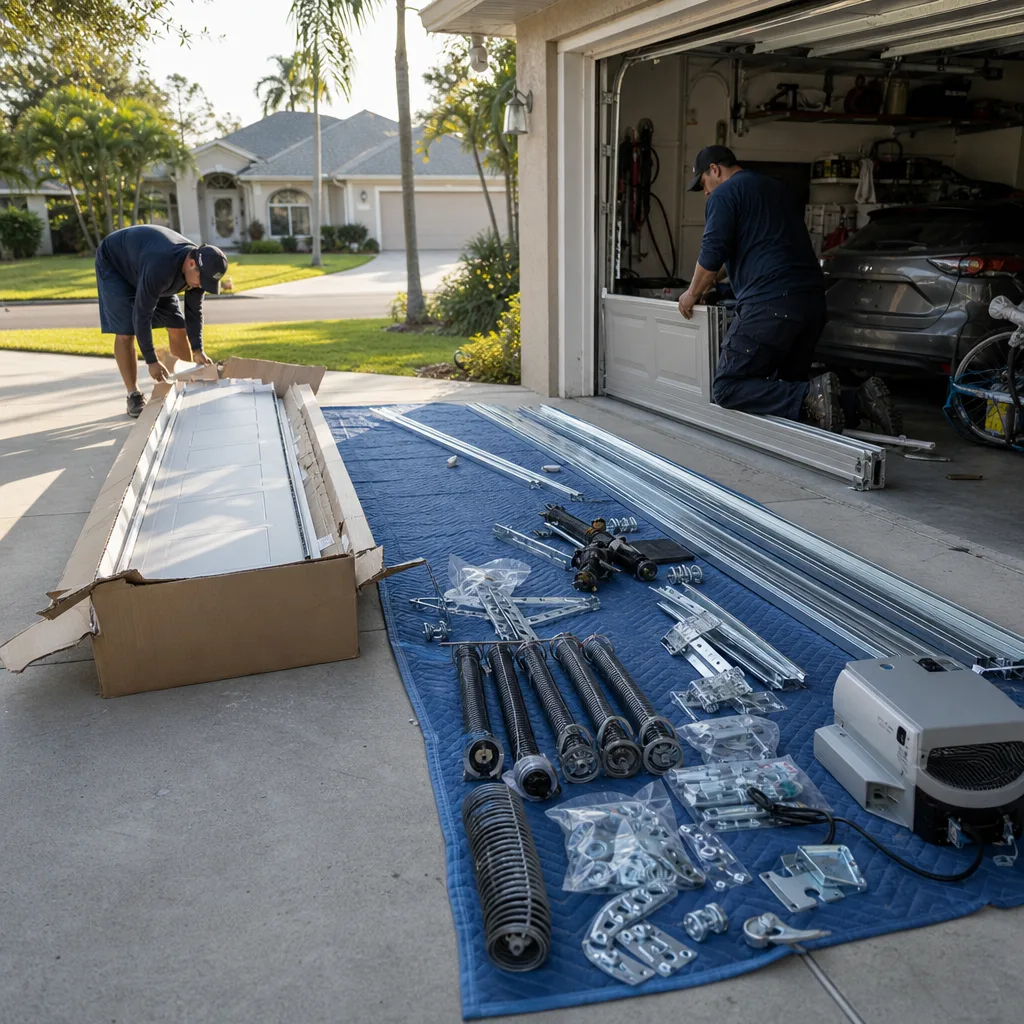
If you’d like a professional maintenance inspection, we’re happy to visit. We’ll inspect the full system, document what we find with photographs, and give you a flat, written price before any work starts. For a new door project, see our Garage Door Installation in Bradenton page, or call (941) 203-1829.
Written by Marcus Deller, Owner at Servo Garage Doors Bradenton, serving Bradenton since 2015.